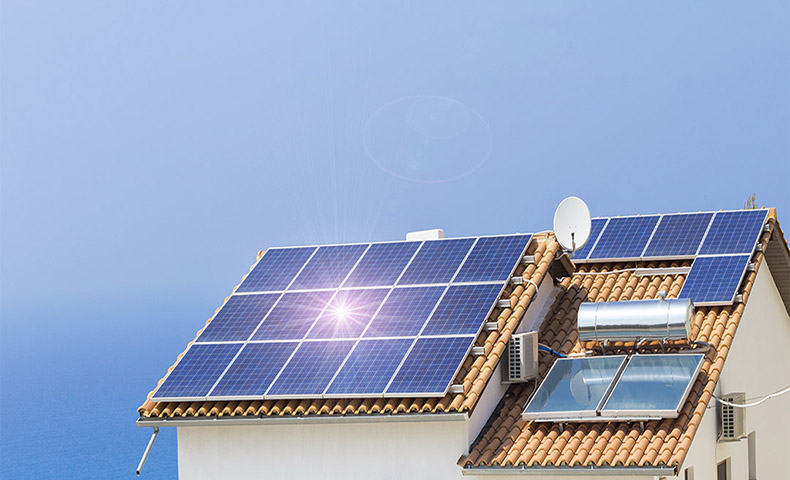
An attic fan is a great item for keeping your home cool and reducing the amount of energy you’ll need to cool down your home. However, maybe you want to install a solar-powered fan yourself and don’t know how to get started. Read this step by step guide to get started on installing a solar powered attic fan in your home and start seeing the savings from a cool home.
Pick the Perfect Fan
A solar attic fan is adequate for gable ventilation. The multiple systems for collection, ventilation, and control make the system adaptable. The kit comes with a 40-watt solar panel, a thermostat/controller and a 12-volt DC powered 11-inch diameter fan. To get the best system, choose a solar panel with double the output required by the fan used.
Measure the Perfect Angle to Install the Fan
Attic fans, just like panels, are most efficient when placed facing due south.
After figuring out the installation angle, it's time to connect the wiring to the terminal box on the bottom of the solar panel. A wiring diagram is usually added to the bottom for easy DIY installation.
Connecting the Wiring
A water-tight connector is placed on the outside of the junction/terminal box to block moisture from touching the wiring that will be placed later.
Strip the 14-gauge wire and thread it into the junction box opening.
Affix the red (positive) wire to the positive terminal; connect the black (negative) wire to the negative terminal.
Tighten the Water-Tight Connector
Place the water-tight lid on the box and clench it into place. Tighten the water-tight connector to avoid moisture leakage.
Find the Rafters and Drill in the Brackets
Use a hammer to find the rafters. The panel will be clamped tightly to the roof by Z-bracket mounts that will be drilled into the rafters. The Z-brackets will also hoist up the panel from the hot roof surface, making it work better.
Use stainless steel hardware to connect the Z-brackets to the inner edges of the panel.
Add butyl sealant beneath each Z-bracket before drilling the brackets through the roof.
Run the Cable and Secure it in Place
Run the electrical cable from the panel along the roofline towards the end by the gable vent.
Tighten the wire to the roof at 18-inch intervals as a precautionary measure.
Run the wire into the gable vent.
Measure and Cut a Brace
With the solar panel secure, the fan is ready to be installed in the attic. Choose and mark the location of the fan.
Calculate out how long a 2x4 brace should be and cut it out. Use a drill and screws to tighten the brace into the gable opening.
Continue to Connect the Wiring
Clamp the fan onto the brace using wood screws and to the surrounding gable area.
Strip the 14-gauge cable that was fed through the opening and connect it to the fan wires to make sure it works. (Always connect positive wires to positive wires on the fan and negative to negative wires.) If enough energy is being generated, the fan should start moving. If the wires are placed backward, air will direct itself into the attic instead of outside.
Place the Temperature Controller
If placing a thermal switch/temperature controller, also place a standard plastic electrical box to a place by the fan. After tightening it into place, feed the cable into the box (which will house the controller) from the solar panel.
Connect one wire from the controller to the panel wiring, and then connect the other wire to the fan wiring. Use a wire nut to tighten altogether.
Place the temperature controller within the electrical box and set a temperature that will activate the fan.
Want more tips to bringing solar into your lifestyle? Check out the HahaSmart blog to learn more!
HahaSmart Blog - More Solar Tips and Guide
HahaSmart News - Stay Informed
Your Solar Incentives - See Credits and Incentives in Your Area
Check Your Home's Solar Price - See How Much You Save
Register Now - Unlock The Lowest Solar Prices in Your Area


Input your address to see if it is solar friendly and how much you can save with solar.
Great. Your address is perfect for solar. Solar incentive is still available. Select monthly utility cost and calculate the size of solar system you will need now.
| kw System size | years Payback period | Lifetime savings |
No money down, 100% finance is available.
|
|
Want to design your perfect solar home? Sign up now and we'll help you! |
Comments